Backgammon
Play now
Ludo is the classic cross-shaped race game for 2 to 4 players, where you roll the dice to move four tokens all the way around the board and home. Capture opponents who land on your square, use the safe star squares to dodge capture yourself, and hope for a lucky six to break free from base. Play single-player against bots, or invite friends into an online room for 2, 3, or 4 players.
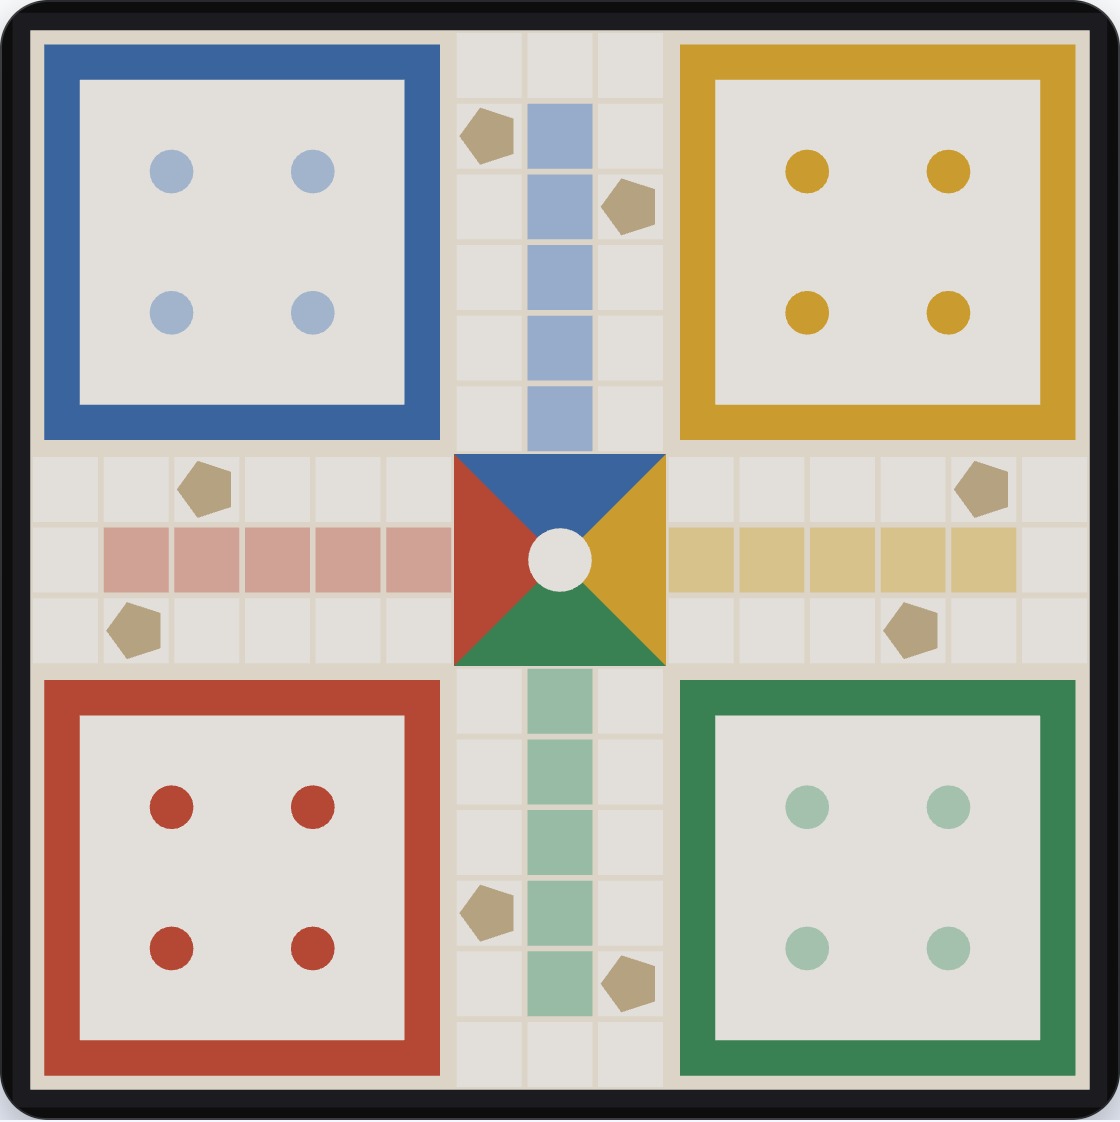
The goal is simple: be the first player to get all four of your tokens from your base, around the board, and into the center home triangle.
Each player controls one of four colors — Red, Green, Yellow, or Blue — and starts with all four tokens sitting in their own colored base. With 2 players, Red and Yellow play from opposite corners; with 3, Red, Green, and Yellow play; with 4, every color is in play.
With only Red and Yellow in play, they take the two corners diagonally opposite each other — Green and Blue get no tokens, since neither color is dealt into a 2-player game.
On your turn, roll the die. A token can only leave its base on a roll of 6 — until then, your tokens wait at home no matter what else you roll.
Once a token is on the board, move it forward that many squares along the track. Rolling a 6 also earns you an extra roll immediately afterward — but be careful: rolling three sixes in a row forfeits your turn entirely, with no move allowed on that third six.
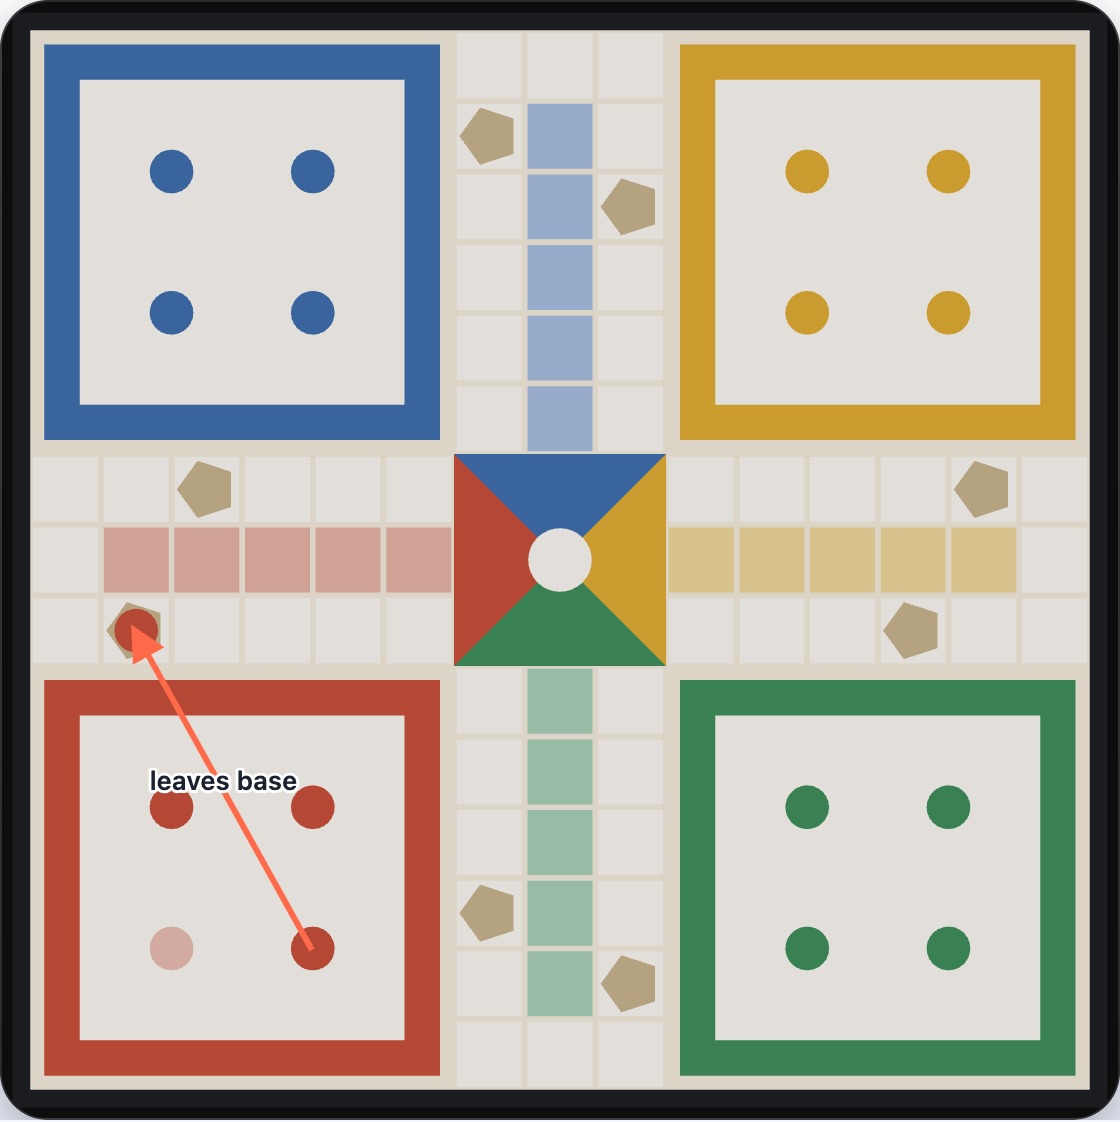
Red has just rolled a 6 and moved a token out of base onto the starting square — the arrow shows that move, from a base slot onto the track.
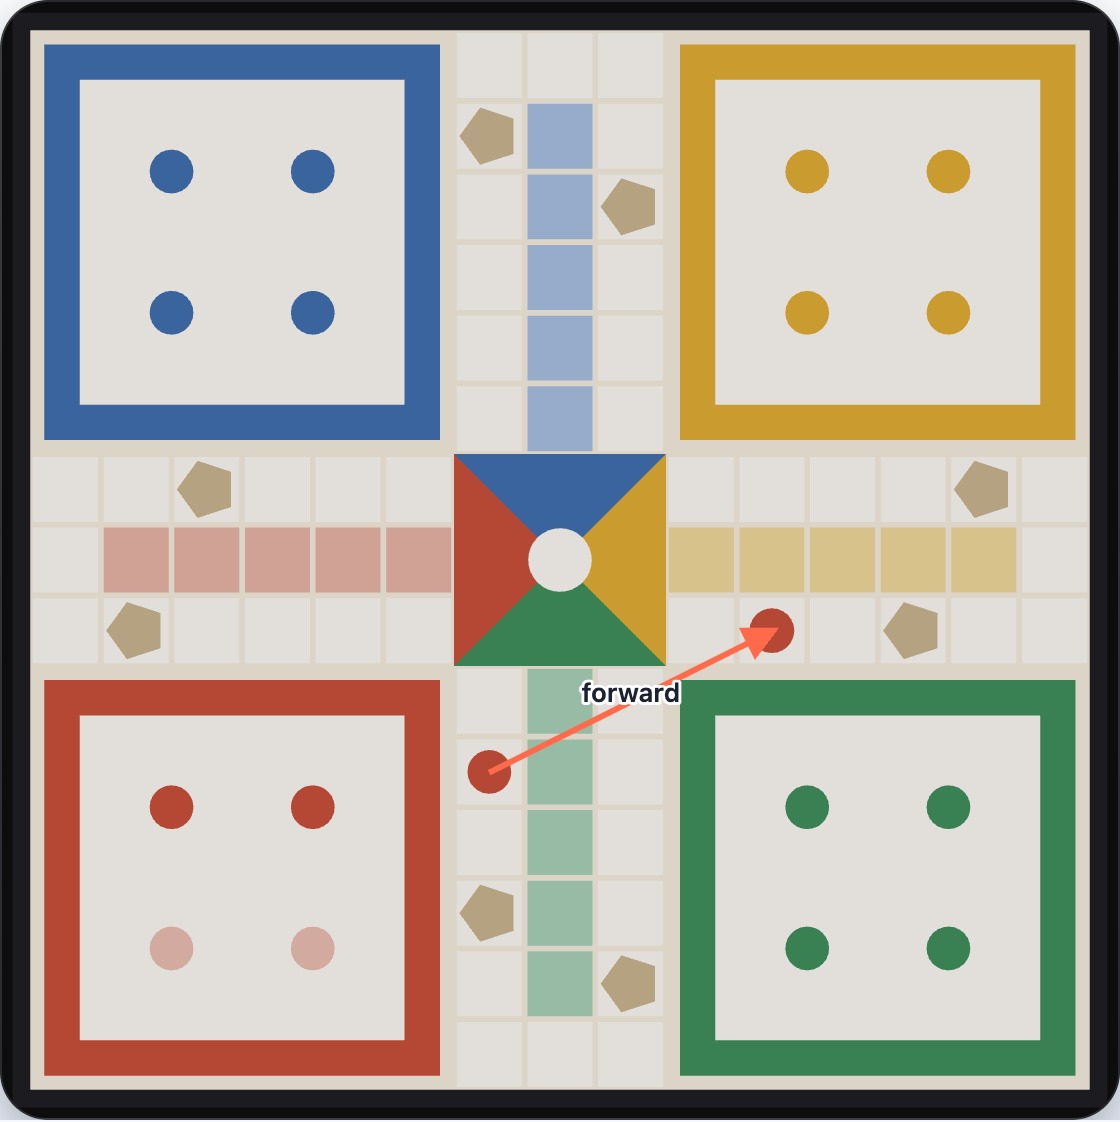
Every color moves the same way around the shared outer track — the arrow below shows the direction. Follow it far enough and you'll come all the way back around to where you started.
Two of Red's tokens sit further apart on the track. The arrow points from the trailing token toward the leading one — that's the direction every token advances on its turn, whatever color it is.
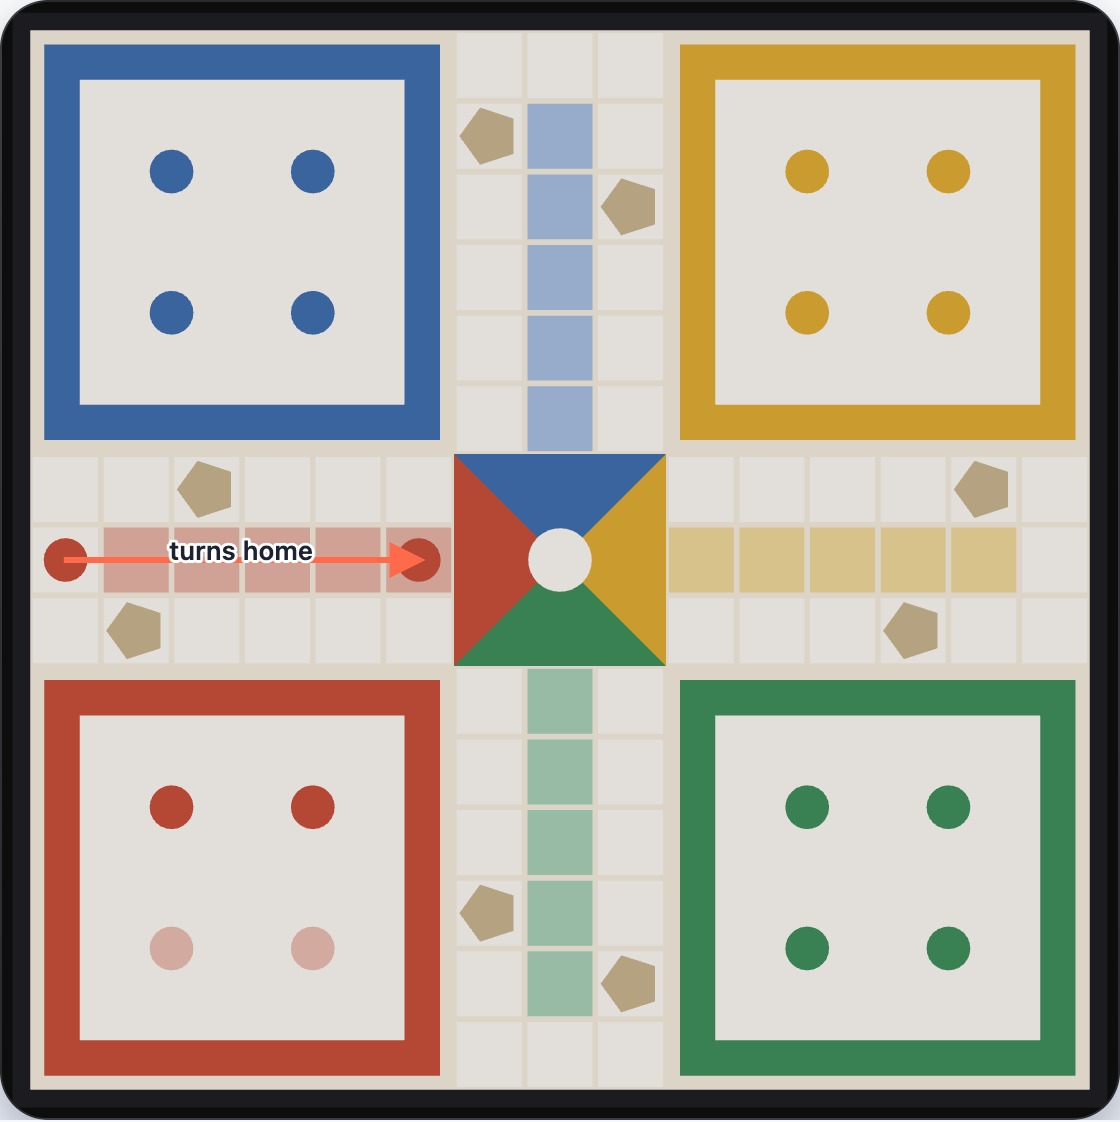
The outer track is shared by everyone, but nobody actually goes all the way around it. After a full lap, each color peels off into its own short, private stretch of squares leading to the center — only your own tokens can use it, and it's the last leg of the journey home.
Red's token is nearly back around to where it started. A few more squares and it turns off the shared track into Red's own home stretch, shown here with a second token already on it.
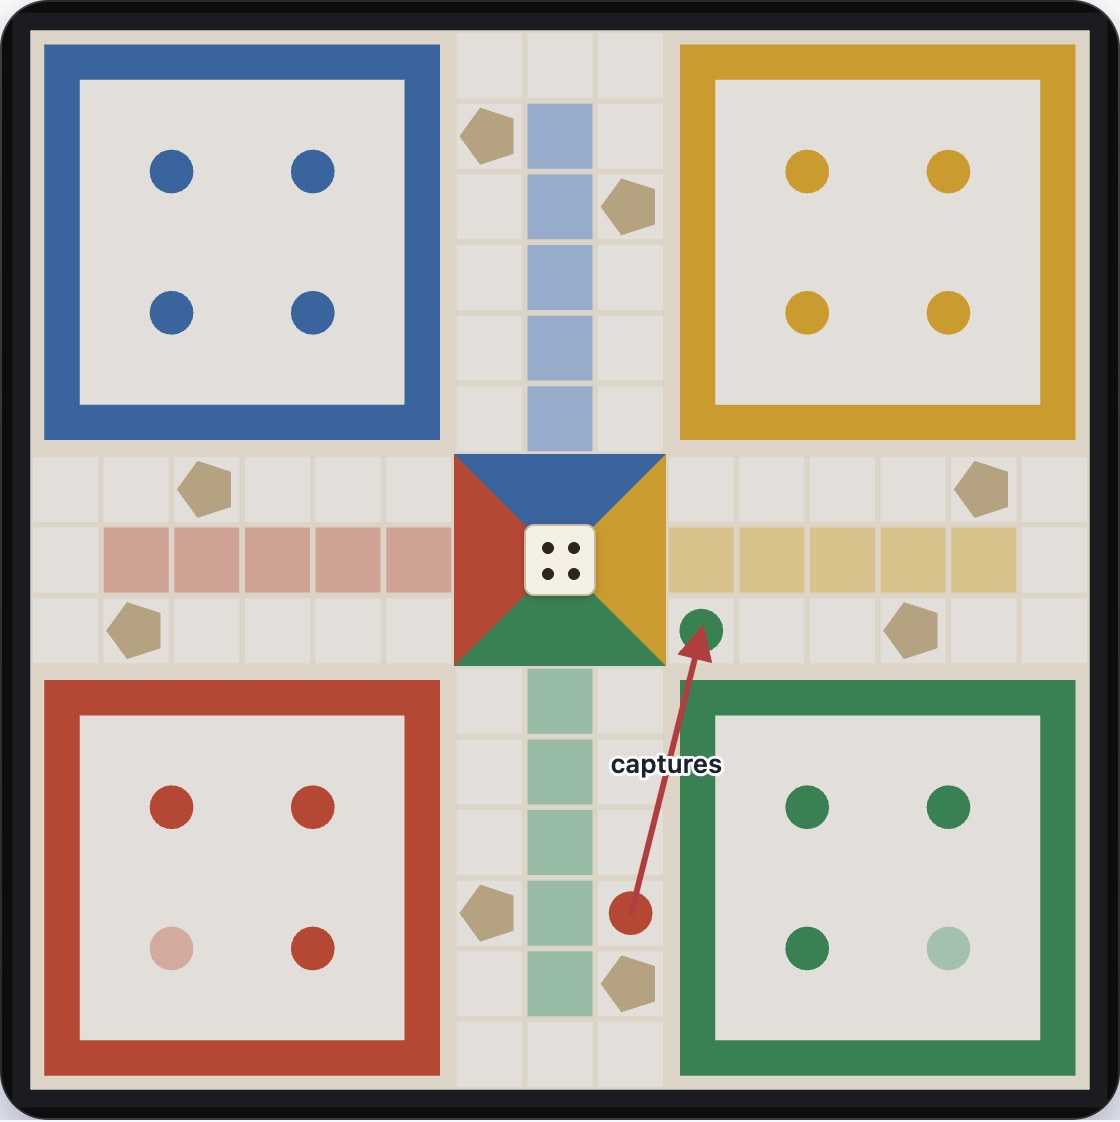
Land exactly on a square occupied by an opponent's token, and you send it straight back to their base — they'll need another 6 to bring it out again.
Red has rolled a 4. Moving forward four squares lands exactly on Green's token, which will be sent straight back to base — the arrow shows exactly where that move is headed.
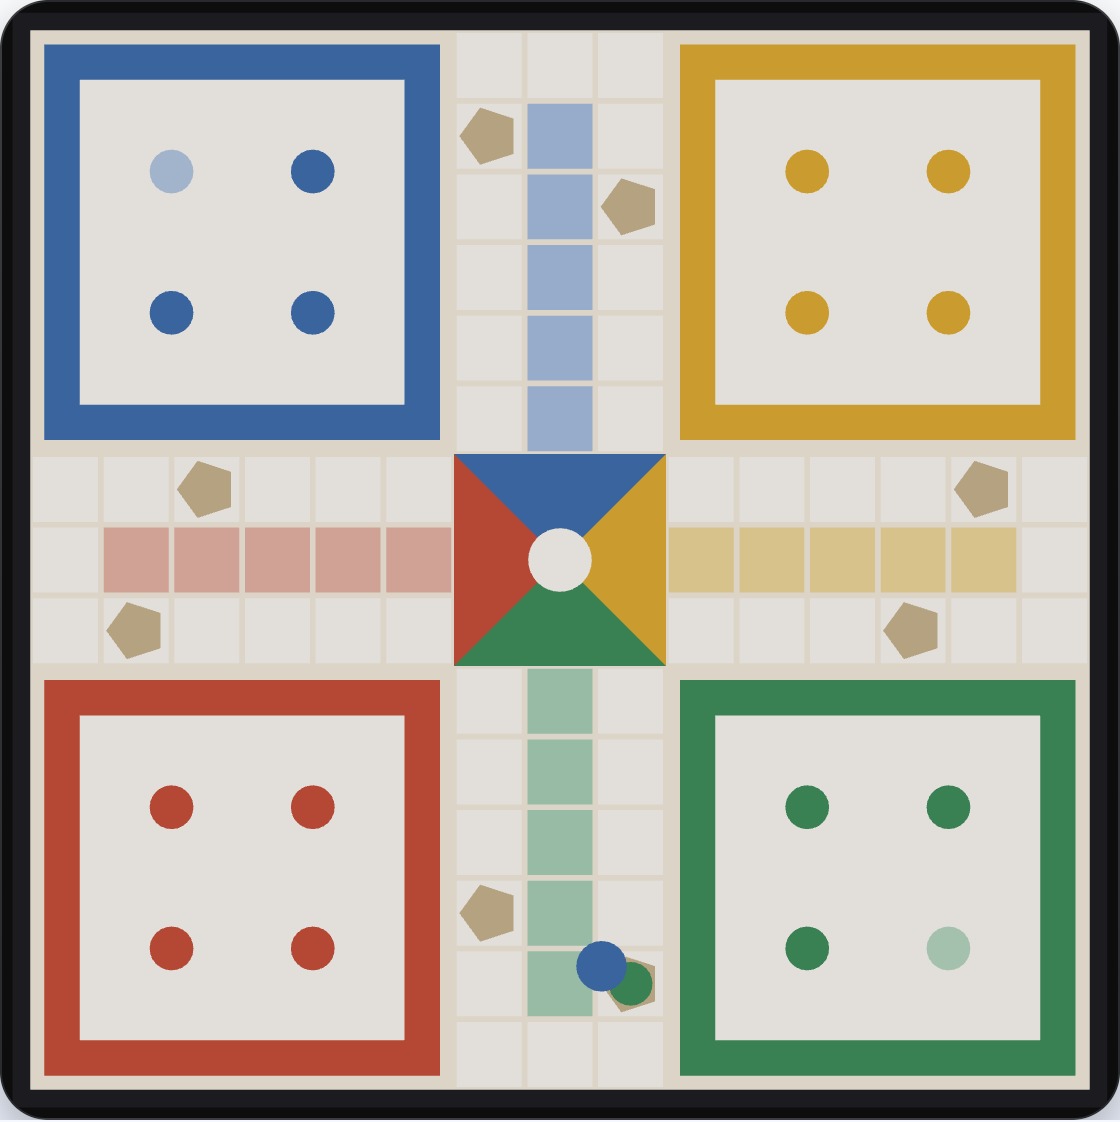
The eight star-marked squares are always safe: no token can be captured while sitting on one, even if an opponent lands there too. Your own starting square is one of them, so a token can dodge capture the instant it lands.
Blue has landed on Green's starred starting square. Because star squares are always safe, both tokens sit here peacefully — neither can be captured.
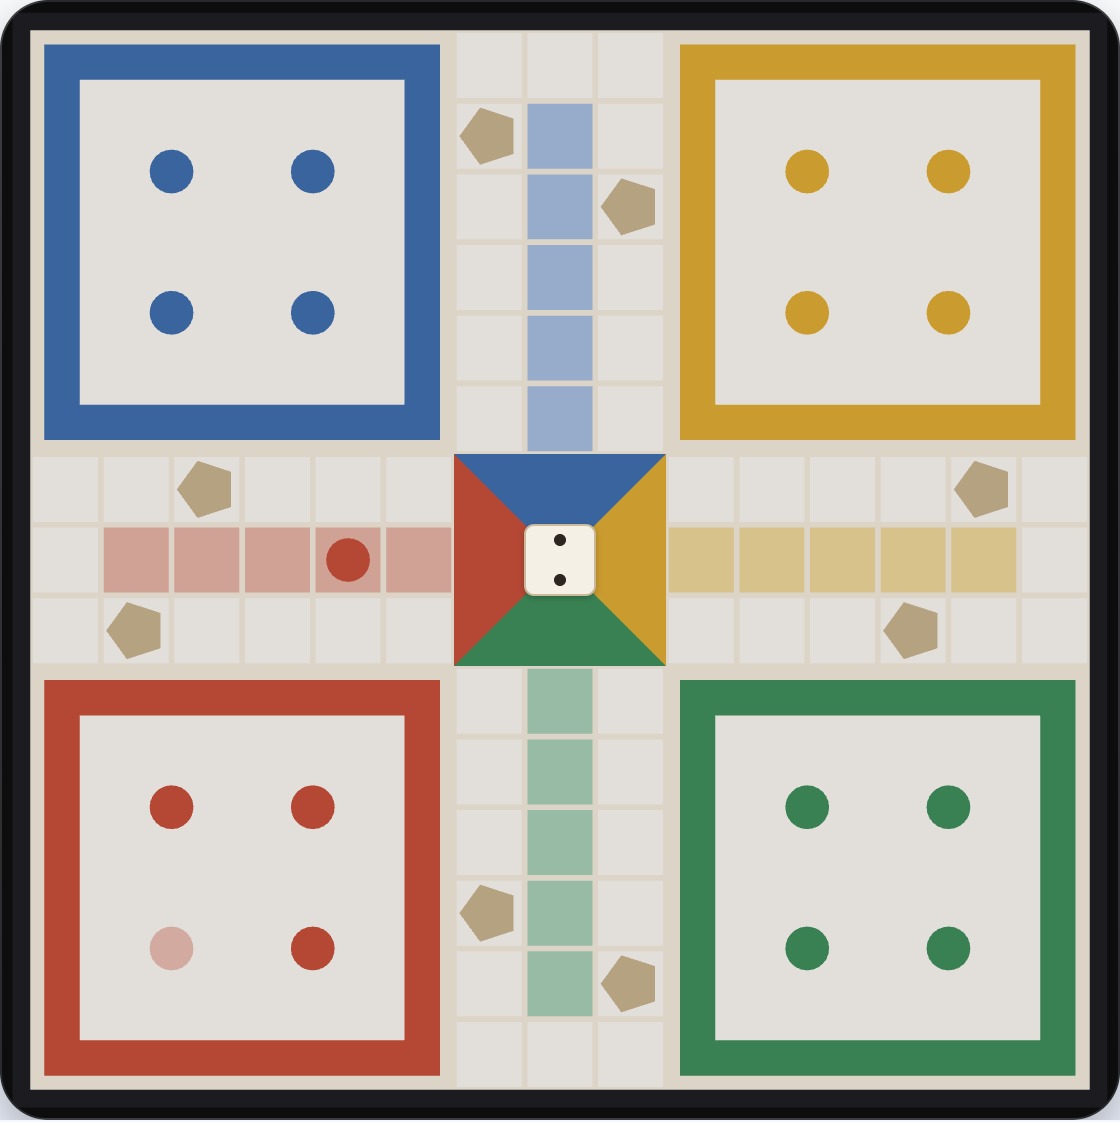
To bring a token all the way home, you need the exact roll — overshoot the center and that move isn't allowed; play a different token instead, or pass if none can move.
Red's token is two squares from the center. With a 2 showing on the die, this token can move in and finish — any other roll, and it has to wait for another turn.
The first player to get all four tokens home wins immediately, even if other players still have tokens on the board. Spread your tokens out early so a single unlucky roll can't strand your whole army, keep an eye on which squares are safe before you commit to a risky-looking move, and don't be afraid to leave a token in base a little longer if the squares around your start are crowded with opponents waiting to capture.