Minesweeper Strategy for Beginners
Minesweeper Strategy for Beginners
Minesweeper presents a grid of covered cells. Some cells hide mines; the rest are safe. When you reveal a safe cell, it shows a number telling you how many of its eight immediate neighbours contain mines. The goal is to reveal every safe cell without touching a mine.
The first click is always safe. From the second click onward, every decision should be logical. This guide covers the five core ideas that take a beginner from random clicking to deliberate, deduction-based play.
1. How the Numbers Work
Every revealed number is a count of mines in the eight cells surrounding it — above, below, left, right, and all four diagonals. A 1 means exactly one mine among those neighbours. A 3 means exactly three. A blank cell (zero) has no mines nearby and reveals all its neighbours automatically, creating the large safe openings you see at the start.

A cluster of revealed cells in the centre of the board. Cells showing numbers sit at the frontier — each number tells you how many of its hidden neighbours contain mines. Cells completely surrounded by other revealed cells have no new information to give, so focus your attention on the numbered cells that border the unrevealed region.
The most powerful habit you can build is reading every number's neighbourhood before clicking anywhere. Each number constrains a specific set of cells. Working through those constraints systematically is how you avoid mines.
2. Reading the Frontier
The frontier is the set of numbered cells that border unrevealed cells. These are the only cells giving you active information. Cells surrounded entirely by other revealed cells have already told you everything they can.
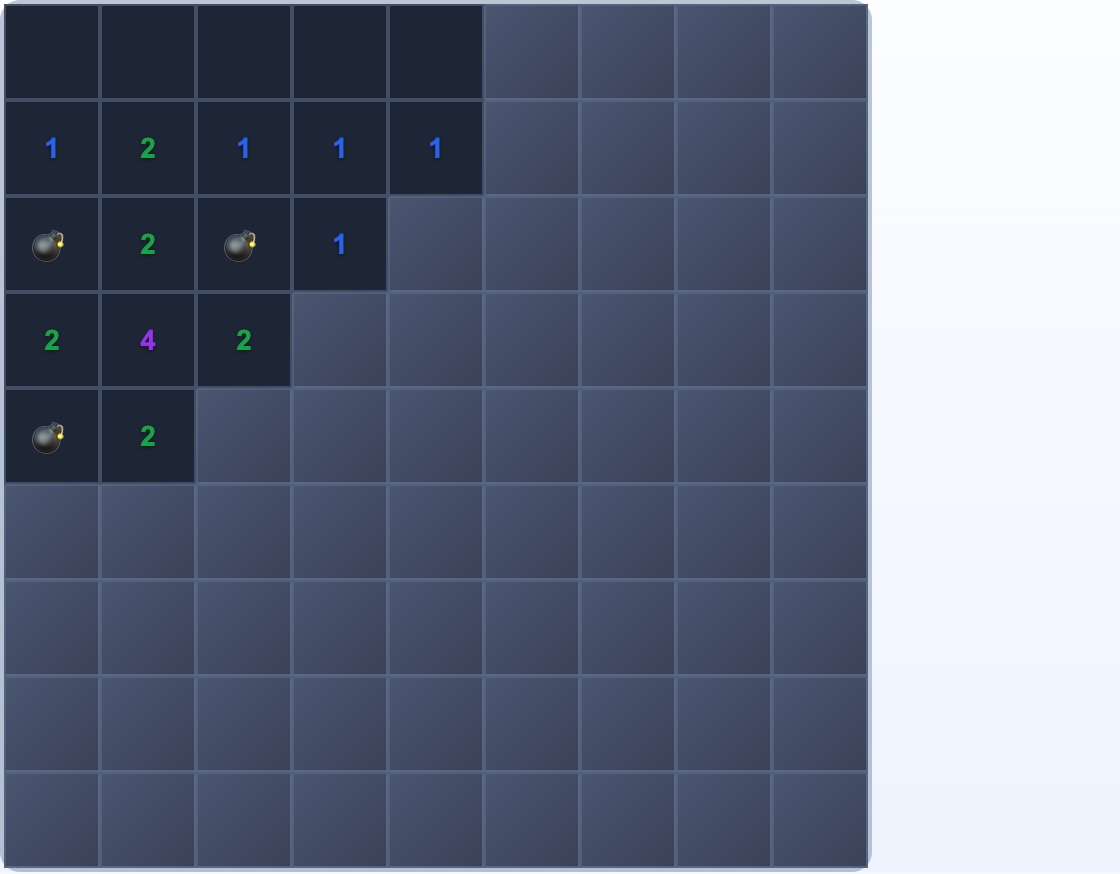
A revealed area in the top-left corner. The numbered cells along the right and bottom edge of the revealed region form the frontier — each one constrains the unrevealed cells adjacent to it. The unrevealed cells in the centre and right of the board give no information yet; the frontier is where all deductions must start.
Work along the frontier systematically. Pick one numbered cell, check how many mines it still needs, count how many unrevealed neighbours it has, and determine whether anything is forced. Then move to the next frontier cell.
3. Flagging Confirmed Mines
A flag marks a cell you are certain is a mine. Flags serve two purposes: they remind you which cells to avoid, and — once placed correctly — they allow you to unlock safe cells in the next step.
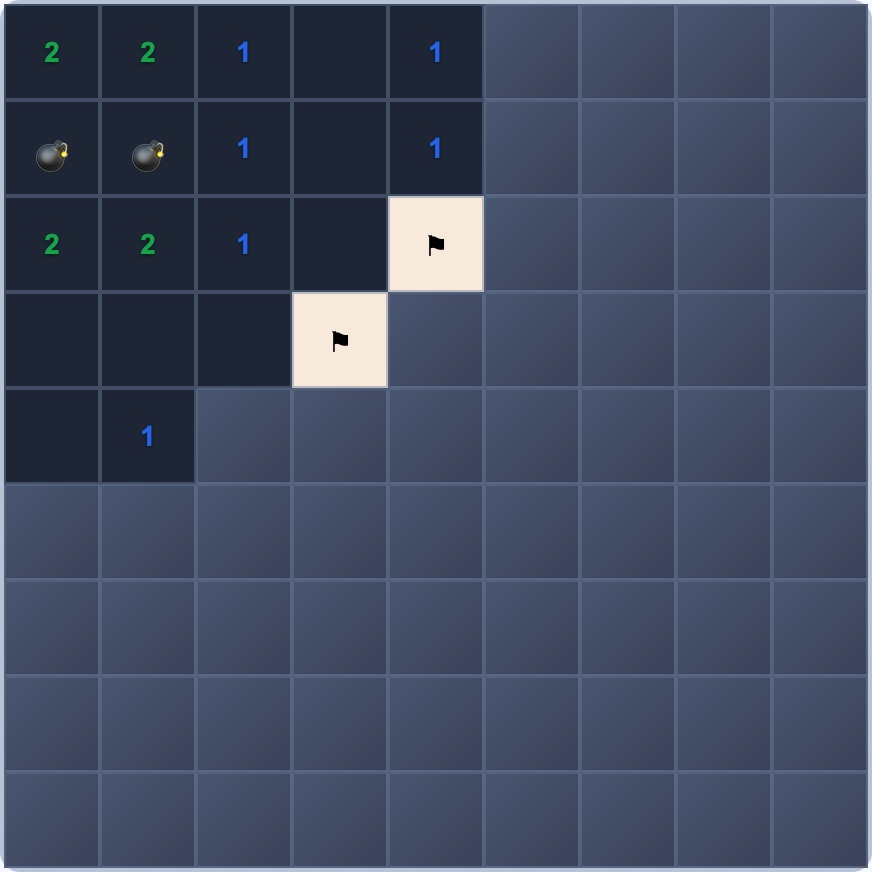
Two flags mark cells deduced to be mines based on the frontier numbers. Flagging a mine removes it from consideration — any frontier number that has all its mines flagged can now be used to unlock safe cells. Place flags only when you are certain; a misplaced flag spreads incorrect information to every number that counts it.
When should you place a flag? When a numbered cell has exactly as many unrevealed neighbours as its mine count, every one of those neighbours must be a mine — flag them all immediately.
Example: a 2 with exactly two unrevealed neighbours means both are mines. A 1 with one unrevealed neighbour means that cell is a mine.
4. Deducing Safe Cells
The most important deduction in minesweeper is the satisfied number: a numbered cell whose mine count is fully accounted for by adjacent flags. Every other unrevealed neighbour of that cell is guaranteed safe.
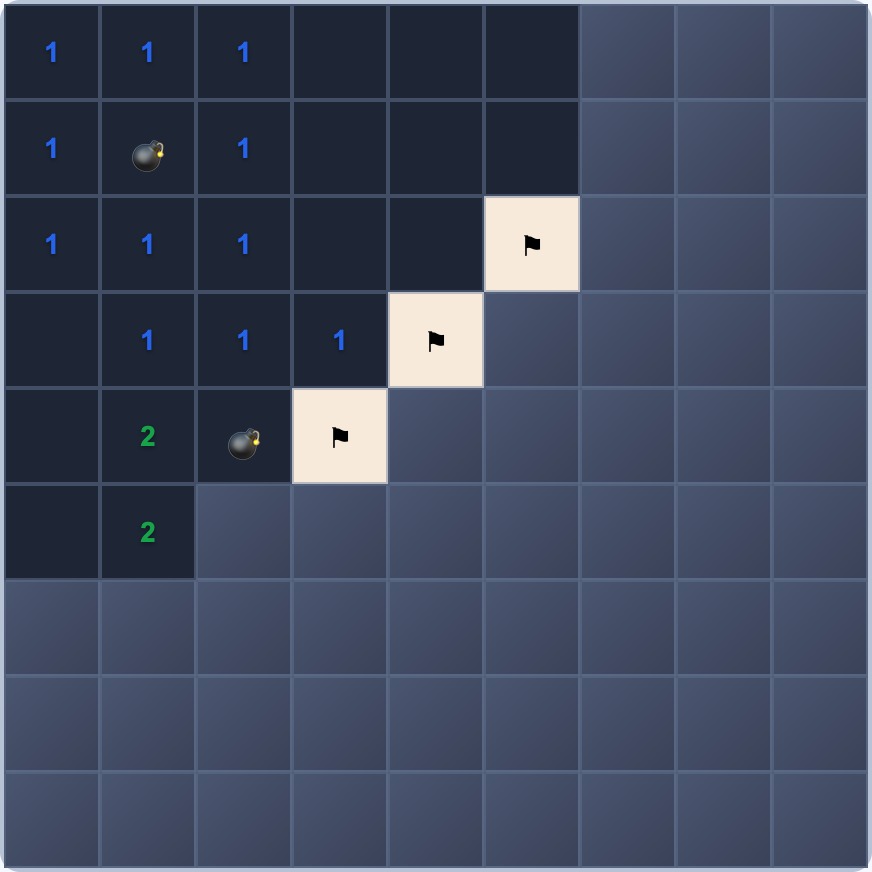
Three flags mark mines along the diagonal frontier. Each frontier number adjacent to a flag can now check whether its mine count is fully satisfied. Any number that already has all its mines flagged gives you free cells: every remaining unrevealed neighbour of that number is safe to open immediately.
This alternation — flag confirmed mines, then open confirmed safe cells — is the engine of minesweeper logic. Most puzzles can be solved entirely this way. The pattern repeats: new cells reveal new numbers, which allow new flags, which unlock new safe cells.
5. Counting Mines in the Endgame
As the board fills, the mine counter becomes your most important tool. The counter shows how many mines remain unflagged. In the endgame — when only a small number of unrevealed cells remain — combining the counter with the frontier constraints often resolves the entire remaining board without any guessing.

A nearly complete board with flags along the right edge. At this stage, cross-reference the mine counter with the number of remaining unrevealed cells. If the counter equals the number of unrevealed cells, every remaining cell is a mine — flag them all and win. If the counter is zero, every remaining cell is safe — open them all.
Endgame minesweeper is arithmetic. The mine counter, the frontier numbers, and the count of remaining unrevealed cells give you everything you need.
6. The Most Common Beginner Mistakes
Clicking randomly when stuck. When you cannot find an obvious deduction, re-examine the frontier systematically. Check every numbered cell that borders unrevealed cells — a deduction you missed often becomes visible on the second pass.
Placing flags on uncertain cells. Flags should only mark cells you have logically confirmed as mines. Speculative flags — placed on cells you think might be mines — pollute your deductions and often cause you to open a mine by mistake when the flag turns out to be wrong.
Ignoring the mine counter. The mine counter is active information, especially late in the game. If the counter reaches zero, every unrevealed cell is safe. If the counter equals the number of unrevealed cells, every unrevealed cell is a mine. Check it at every stage.
Not using satisfied numbers. When a numbered cell's mine count is already met by adjacent flags, every other unrevealed neighbour is safe. Many beginners flag mines correctly but miss the second step — opening the safe cells that the flags have just unlocked.
Starting from the corner. Corner cells have only three neighbours, giving you less initial information than central cells. The first click always opens a blank cascade, and clicking centrally tends to open larger safe areas, giving you more numbers to work with from the start.
Try These Ideas in a Game
The fastest way to build these habits is to use them immediately. Play Minesweeper on Playboard — start on easy difficulty and practise working through the frontier systematically before moving to larger boards.
Frequently Asked Questions
- What does each number mean in minesweeper?
- Each number tells you exactly how many mines are hidden in the eight cells that surround it — its immediate neighbours. A cell showing 1 has exactly one mine among its neighbours. A cell showing 3 has exactly three. Blank (zero) cells have none, which is why revealing a blank cell opens a large safe area automatically.
- When should I place a flag in minesweeper?
- Only when you are certain a cell is a mine. A flag is a logical commitment, not a guess. Placing a flag on a cell you are unsure about will mislead your own deductions and can cause you to open an incorrect cell later. If you are not certain, leave the cell alone.
- How do I find safe cells from numbers?
- When a numbered cell's mine count is already satisfied — meaning the right number of adjacent cells are flagged — every remaining unopened neighbour of that cell is guaranteed safe. You can open all of them without risk. This is the most important deduction in minesweeper.
- How do I use the mine counter?
- The mine counter shows how many mines remain unflagged. In the endgame, when only a few cells are left, comparing the counter with the number of unopened cells can reveal that every remaining cell is a mine — or that every remaining cell is safe.
- Can minesweeper always be solved without guessing?
- Not always. Some configurations reach a point where two or more cells are equally likely to be a mine and no further deduction is possible. When this happens, make the choice with the best odds — typically a cell with fewer potential mines around it — and accept that an occasional forced guess is part of the game.
- What is the best first move in minesweeper?
- Click somewhere near the centre of the board on the first move. The first click is always safe, and clicking centrally tends to open a larger safe area than clicking a corner or edge, giving you more numbers to work from immediately.