Before You Roll Again: 10 Backgammon Habits Worth Building
Before You Roll Again: 10 Backgammon Habits Worth Building
Every dice roll in backgammon offers choices — and every choice either builds a stronger position or hands a small advantage to the opponent. These ten habits are specific, move-by-move decisions that separate beginners who react to the dice from players who shape the board deliberately.
1. Always Cover an Exposed Checker Before Anything Else
A single checker on any point is a blot. It can be hit. Before considering any other move, ask whether you have exposed checkers and whether this turn gives you a chance to cover them.
White has a single checker at point 14 — a blot. Black at point 15 can hit it with a roll of 1. The dice show 1 and 5. Before White considers any other plan, the question is: can this blot be covered? If yes, covering it is the move.
Covering a blot turns a liability into a made point — one that blocks the opponent from landing and provides a stable base for building forward.
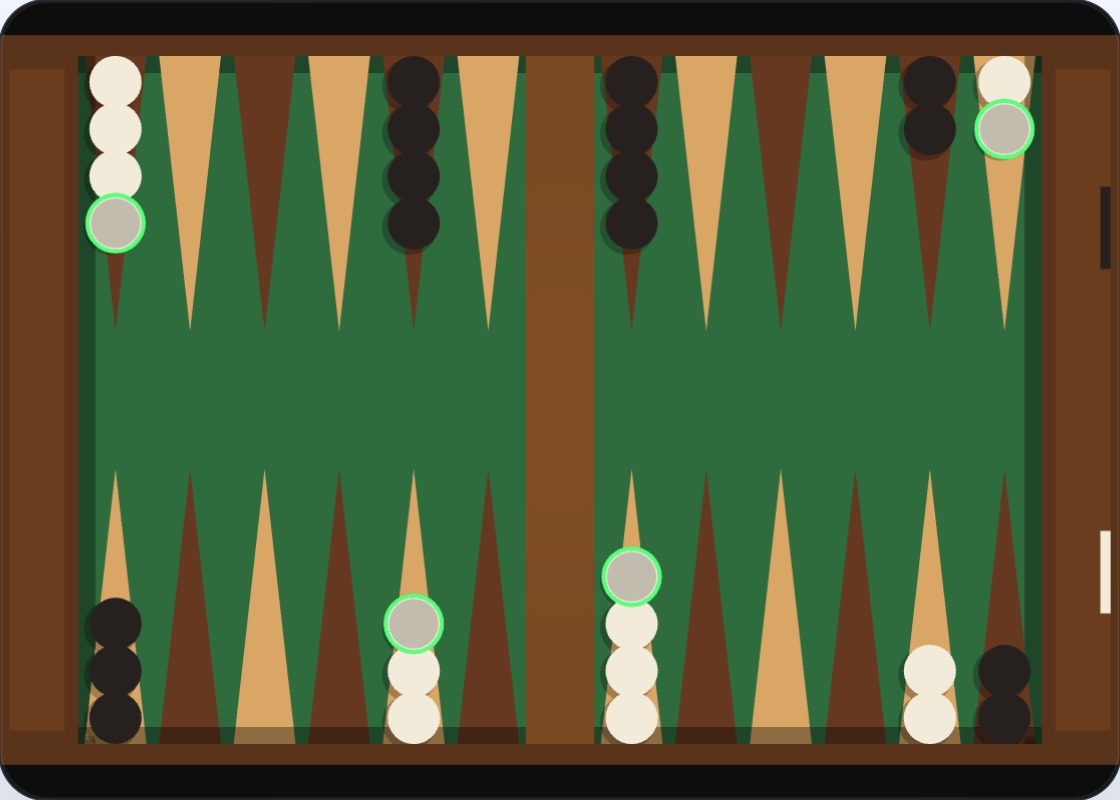
2. Prefer Making a Point Over Moving a Single
When you have a choice between moving two checkers to the same new point or advancing a single checker, making the point is almost always better. A made point contributes to your position permanently; a lone checker is immediately at risk.
White has lone checkers at points 20 and 21. The dice show 2 and 1. Moving the checker at 21 backward one to point 20 pairs them — making a point and eliminating two blots at once. The alternative (advancing one checker further alone) creates a third blot. Making the point is the clearly better choice.
Scanning for point-making opportunities before spending dice on single-checker moves is one of the highest-value habits in the game.
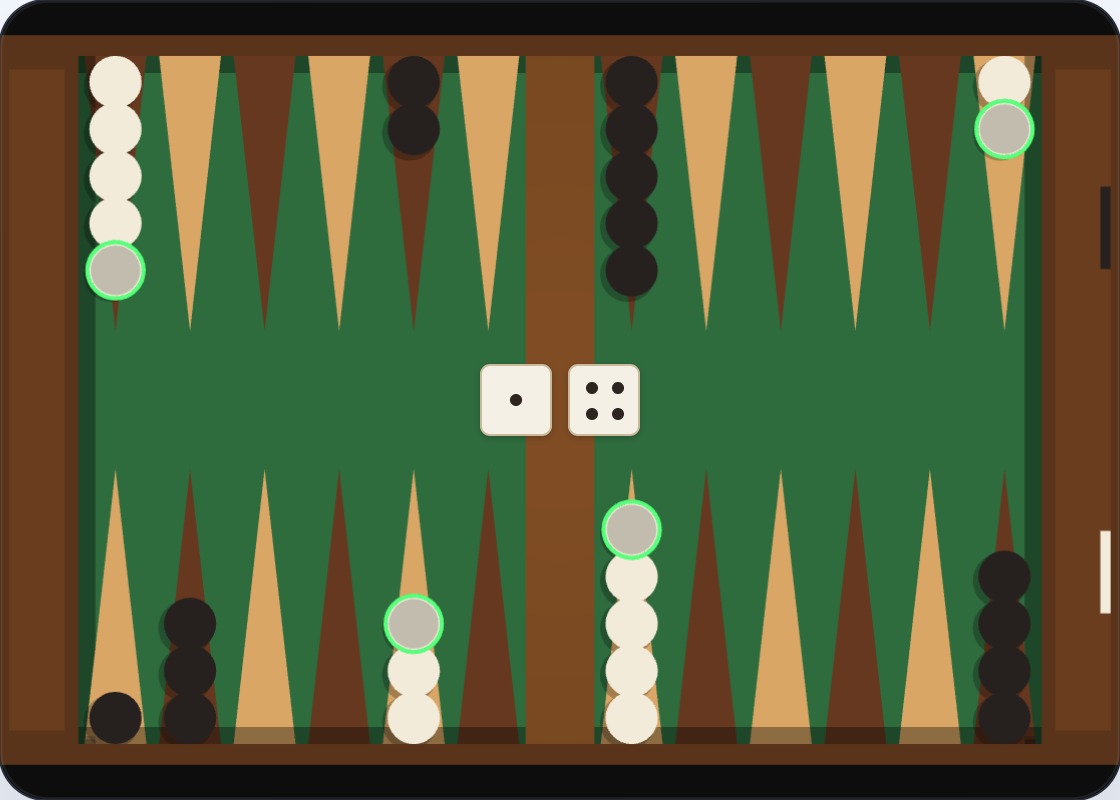
3. Move Your Back Checkers Early
The two checkers deep in enemy territory at the start are your most constrained pieces. The further the game progresses, the more the opponent closes their home board — and the harder it becomes to escape. Move them while the paths are open.
Opening position, White rolls 6 and 5. A 6–5 from the starting position is one of the strongest possible opening rolls — it moves a back checker from point 0 all the way to point 11, immediately escaping the danger zone. Beginners often use this roll elsewhere, leaving the back checkers idle too long.
If escaping with the back checkers is not possible on a given turn, use the dice to build toward an anchor — a safe two-checker point inside the opponent's home board — so re-entering is safe if you get hit later.
4. Never Stack More Than Three Checkers on One Point
Two checkers makes a point. Three is the workable maximum — one spare. Beyond three, the extra checkers are idle: they cannot contribute to any additional point, and they waste whatever dice value would move them. A board full of high stacks and empty gaps is a losing structure.
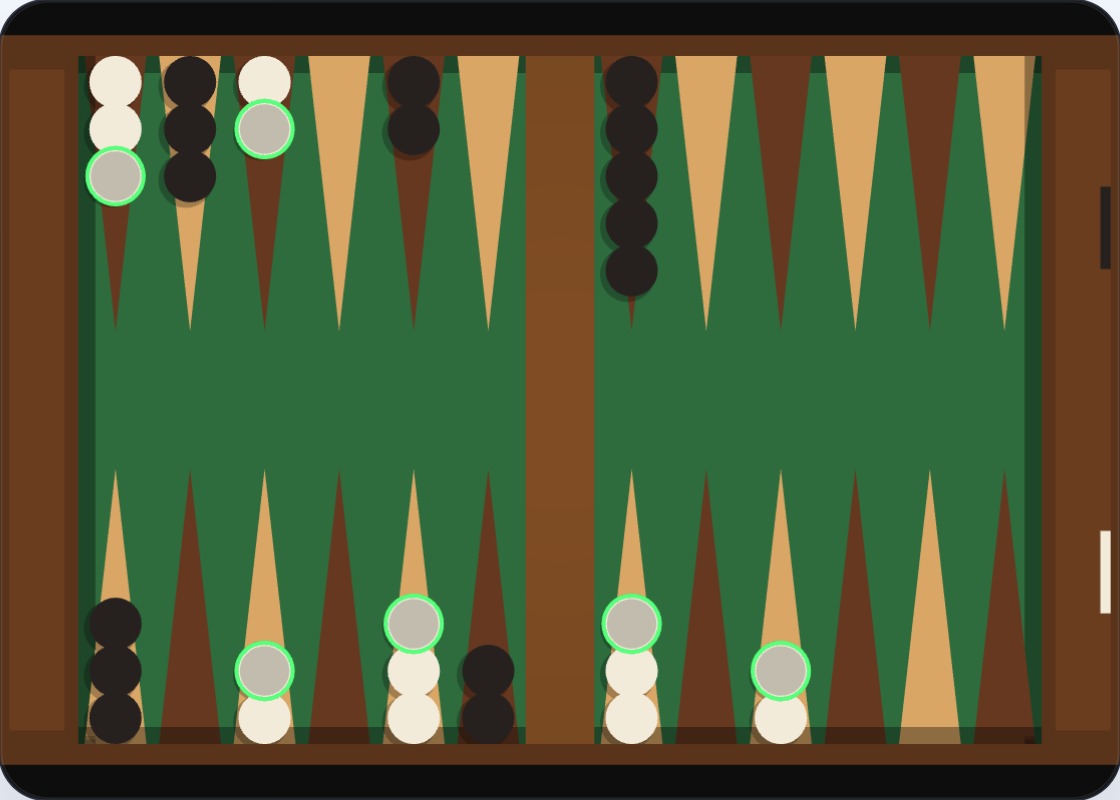
White has eight checkers piled on point 11 — six more than needed. The home board has only two developed points. The pile cannot simultaneously block multiple positions; the extra checkers are frozen, contributing nothing. Distributing them across the home board would build four or five made points instead.
When you find yourself with five or more checkers on one point, treat the next few turns as an opportunity to spread: use incoming dice rolls to place those checkers on new points rather than continuing to pile up.
5. Fight for the Most Valuable Points Early
Not all points on the board are equal. The outermost point of your home board — and the matching point in the opponent's home board — are the most strategically valuable positions on the board. Making these points early creates a strong base for extending a prime toward the centre and restricts the opponent's options significantly.
White has made point 22 — the outermost home board position. Black has made point 1 — the equivalent on their side. Both players now have a strong home board anchor and a base from which to build a prime inward. Whichever player builds consecutive made points from this base first gains a major positional advantage.
When these key points are available and your dice allow it, making them is almost always the highest-value move on the board.
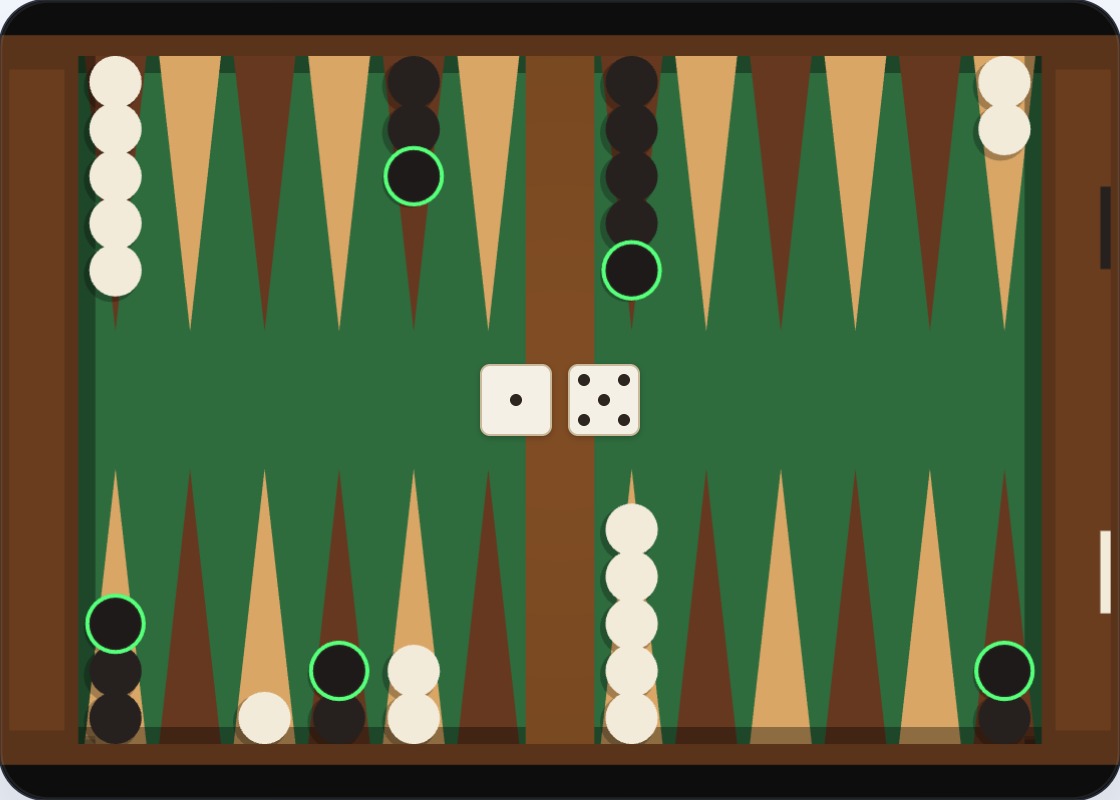
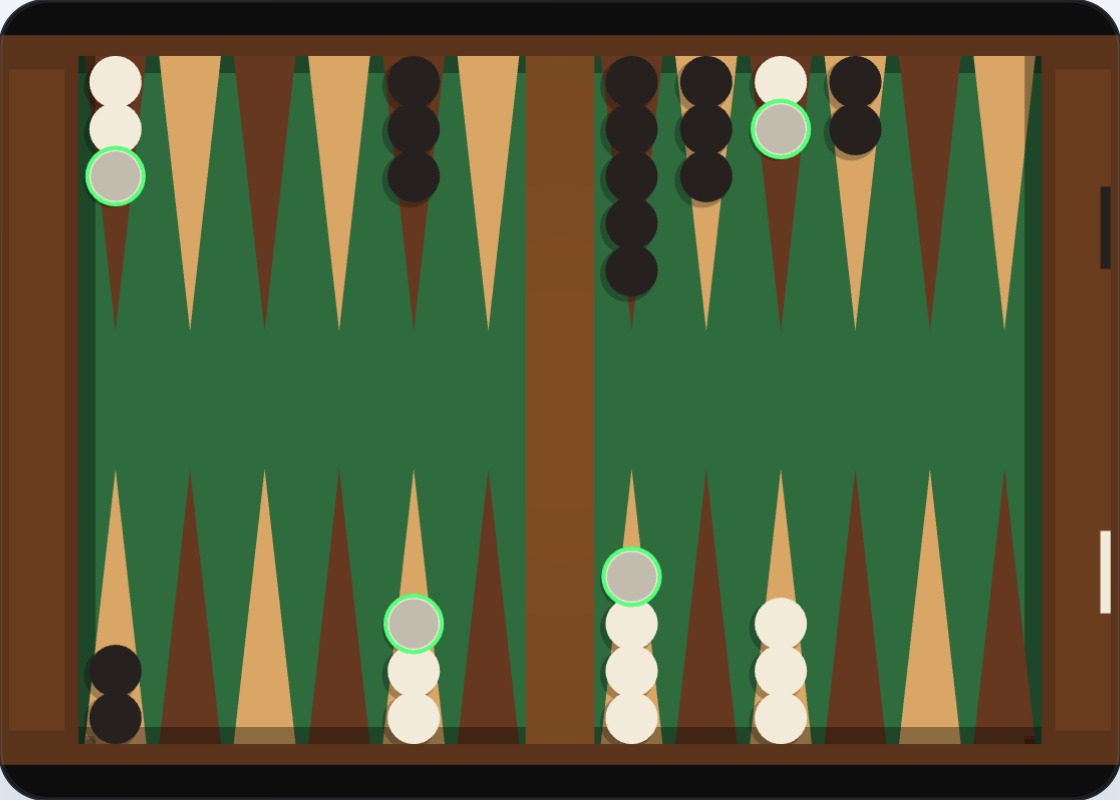
6. Hit Opponent Blots When You Can
When the opponent has a lone checker anywhere on the board and your dice can land on it, hitting it is almost always correct. Sending a checker to the bar costs the opponent a full turn of re-entry and forces them back into a potentially dangerous part of the board.
Black has a lone checker at point 12. White has five checkers at point 11 and can hit the blot with a move of 1. The dice show 1 and 4. Hitting sends the Black checker to the bar — Black must re-enter in White's home board on the next turn, spending a full move just to get back into play. White gains a tempo and makes point 12.
Hitting is especially valuable when the opponent's home board is strong — a checker sent to the bar in that situation may struggle to re-enter at all.
7. Build the Prime from One End Outward
A prime is a row of consecutive made points. The most efficient way to build it is from one end, extending point by point. Starting from the outermost home board position and building inward creates a wall that advances toward the centre — and pushes trapped checkers further from safety with every new point added.
White has made four consecutive points at 15, 16, 17, and 18. Black has a lone checker at point 19 that can no longer move toward point 0 without jumping the growing wall. If White extends the prime to include point 14 and point 20, the trapped checker becomes completely immobile. The prime grows from the inside outward.
A fragmented collection of made points with gaps between them is not a prime. The opponent can jump through gaps. Only consecutive points form a true blocking wall.
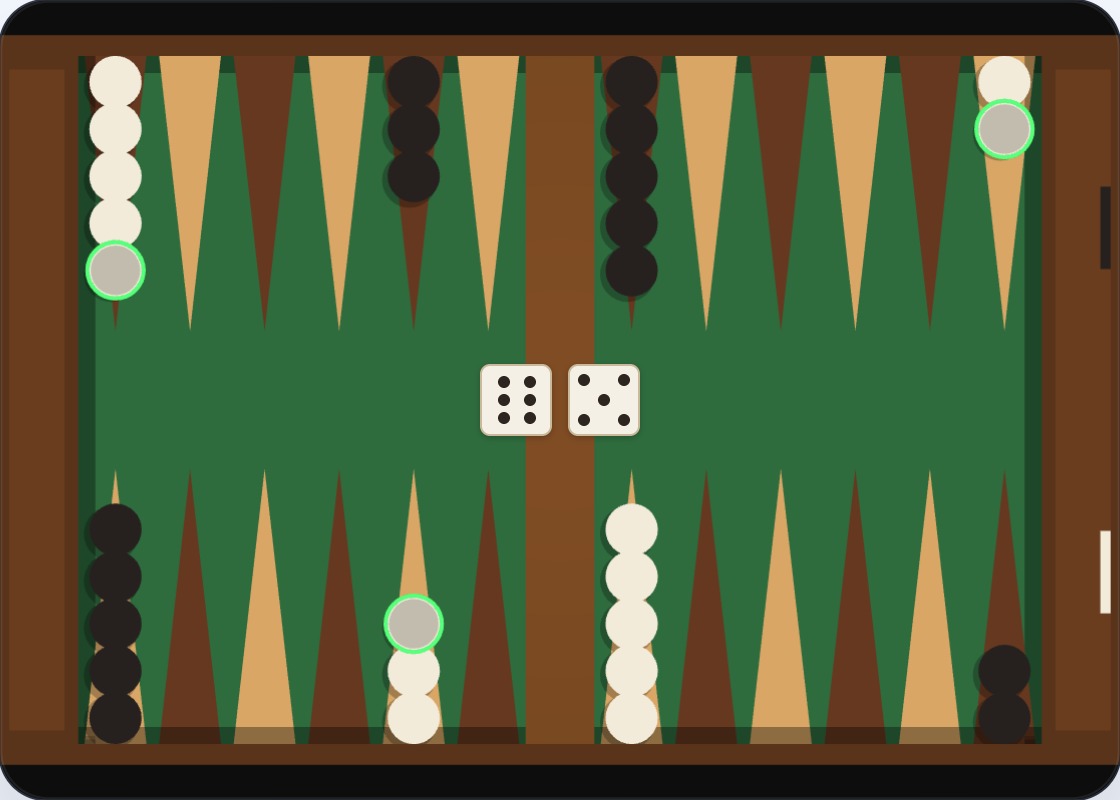
8. Hold Your Anchor When Behind
When the opponent is clearly ahead in the race, your anchor in their home board becomes your most important asset. It keeps you in the game. Abandoning it early — running the two anchor checkers toward home — usually converts a winnable positional battle into a losing footrace.
White holds an anchor at point 3 inside Black's home board. Black has four made home board points. White is slightly behind, but the anchor means that any White checker that gets hit elsewhere re-enters safely. It also threatens to hit any Black blot at nearby points — the anchor keeps White dangerous even while losing ground in the race.
Hold the anchor until you have either closed the gap in the race or found a clear moment to escape both anchor checkers to safety at once.
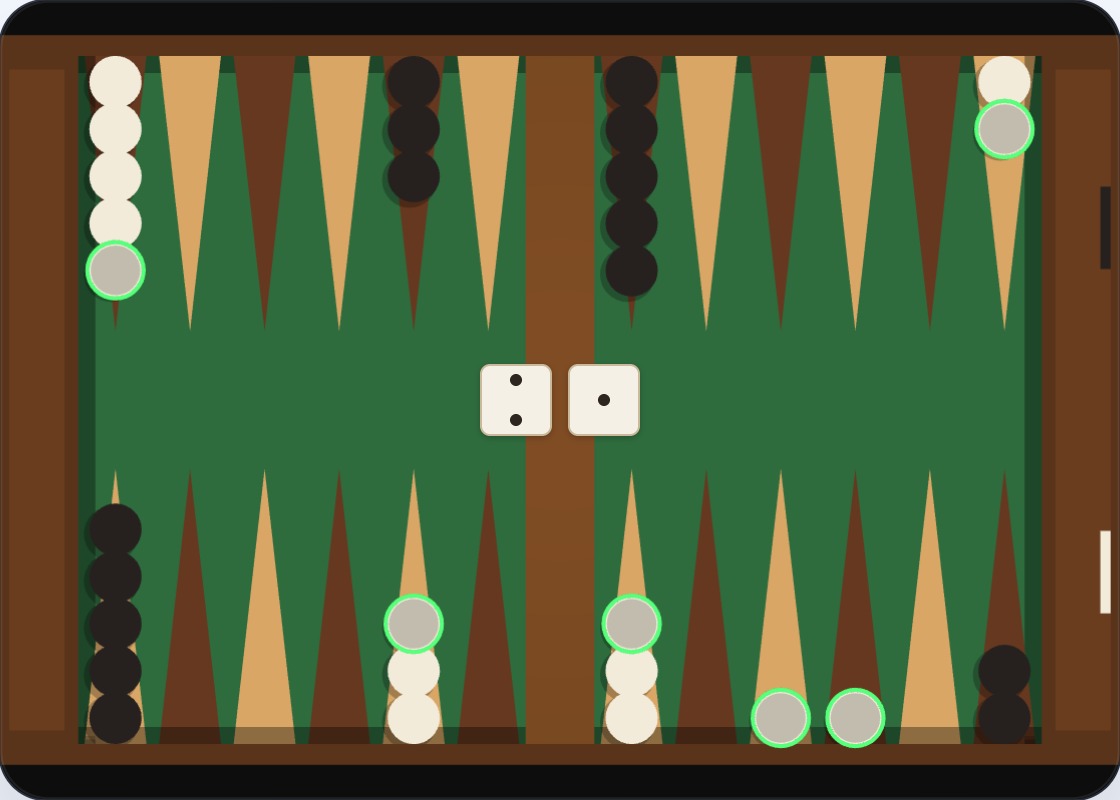
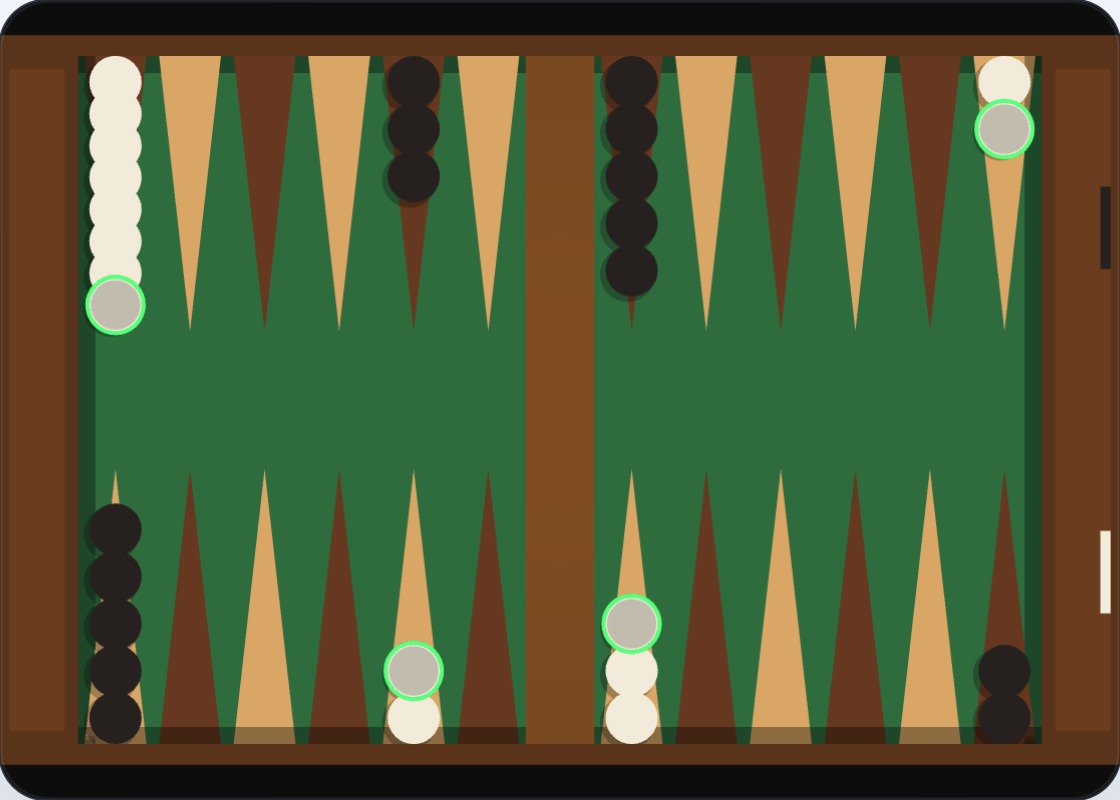
9. Count Pips Before Deciding to Race
The pip count is the total number of pips needed to bear off all your checkers — each checker's distance from bearing off, added together. Comparing your pip count to the opponent's tells you objectively whether you are ahead or behind in the race.
Both players are scattered across the board. The position looks roughly even, but the pip counts may differ significantly. White counts their pips: checkers at points 9, 11, 14, 16, 18, and 20, multiplied by the distance to bearing off (24 minus the point number for White). Black does the same. The player with the lower pip count should race; the player with the higher count should fight for contact.
A quick pip count before deciding your strategy is one of the fastest ways to avoid playing the wrong game — racing when you should anchor, or anchoring when you should run.
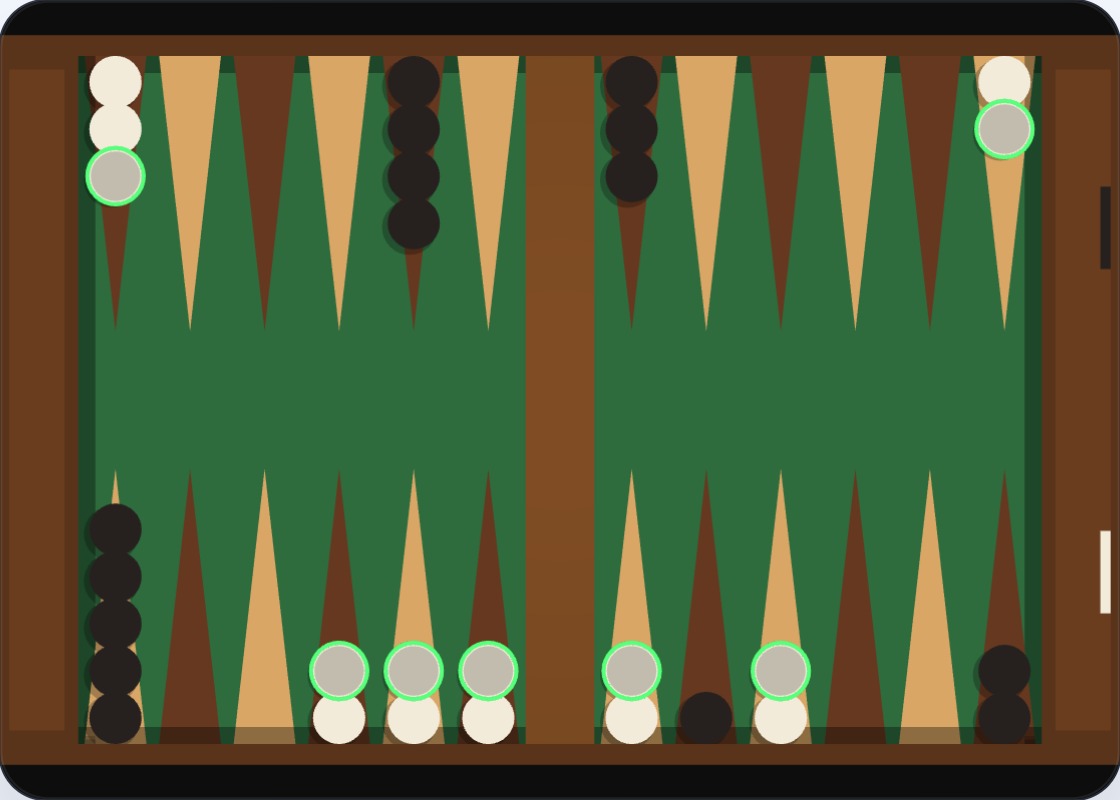
10. When Bearing Off, Clear the Lower Points First
During bearing off, distribute your dice to remove checkers from the lowest occupied positions first. This frees up your dice for larger removals later and reduces wasted moves. When a die exceeds your highest occupied point, the rules allow bearing off from there — use that rule, do not waste the roll moving a checker forward.
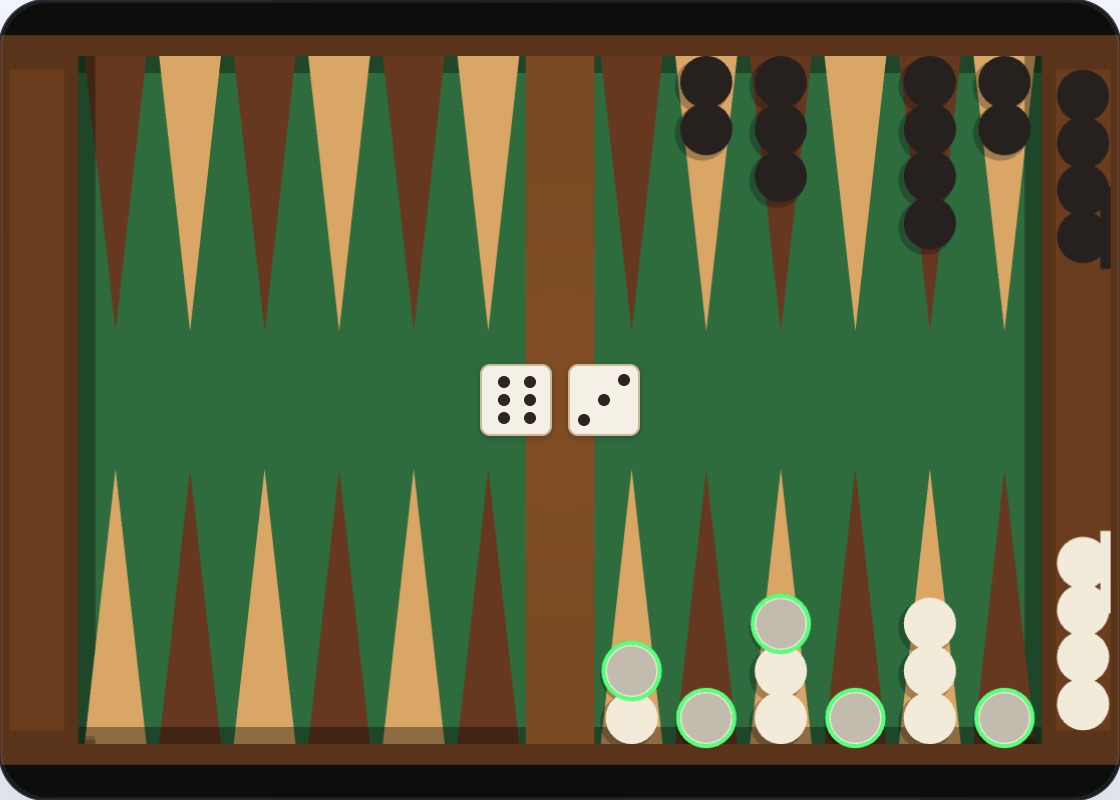
White is bearing off with checkers at points 18–23. The dice show 6 and 3. Point 23 holds one checker — the 6 removes it directly. Point 21 holds one checker — the 3 removes it. Both dice bear off exactly, removing two checkers in a single turn. Keeping checkers spread rather than piled lets both dice contribute to bearing off most turns.
Avoid leaving gaps in your home board during bearing off — a checker at point 23 with nothing between it and point 18 wastes low dice rolls by forcing moves inside the home board instead of bearing off.
Putting the Habits Together
These habits reinforce each other. Cover blots, make points instead of moving singles, get the back checkers moving early, avoid stacking, fight for the key positions, hit when you can, build the prime from one end, hold the anchor when behind, count pips before racing, and bear off efficiently. None of these is hard to apply on its own — the challenge is keeping all of them active simultaneously.
The fastest way to build the habits is to use them. Play Backgammon on Playboard — the single-player mode lets you practise at your own pace without sign-up.
Frequently Asked Questions
- What is the single most important habit in backgammon?
- Cover your blots. A lone checker on any point can be hit and sent to the bar, costing you momentum and forcing a re-entry into a potentially hostile board. Whenever you have a single checker exposed, your first priority each turn is finding a way to add a second checker to that point.
- How do I know when to start racing in backgammon?
- Calculate the pip count — the total pips needed to bear off all your checkers. If your count is meaningfully lower than your opponent's, switch to racing. If it is equal or higher, maintain contact and look for positional play rather than a straight run.
- What makes the 5-point so important in backgammon?
- The 5-point sits at the outer edge of your home board. Making it early blocks a key landing square for your opponent's re-entering checkers and provides a strong anchor for building a prime toward the centre of the board. Most experts consider it the most valuable single point in the game.
- What does it mean to build from one end of the prime?
- A prime grows one point at a time. Starting from the end of your home board and building consecutive made points outward creates a wall that pushes back. Building from multiple disconnected points creates a weaker, patchier structure that the opponent can slip through.
- How do I use the anchor when I am losing?
- Hold your anchor point in the opponent's home board for as long as possible. It keeps you in contact — any opponent blot that passes near it is a target. If the opponent hits you elsewhere, the anchor is a guaranteed safe re-entry square. Only abandon the anchor when you are clearly ahead or can escape safely.
- Why does stacking too many checkers on one point hurt you?
- More than two or three checkers on a point are wasted. They count as a single blocker, and the extra checkers cannot contribute to making other points. Spreading checkers across more positions gives you more options each turn and lets you build more made points simultaneously.